PS给外景婚片调出清新色调效果
2025-01-01 17:54作者:佚名来源:本站整理浏览:926
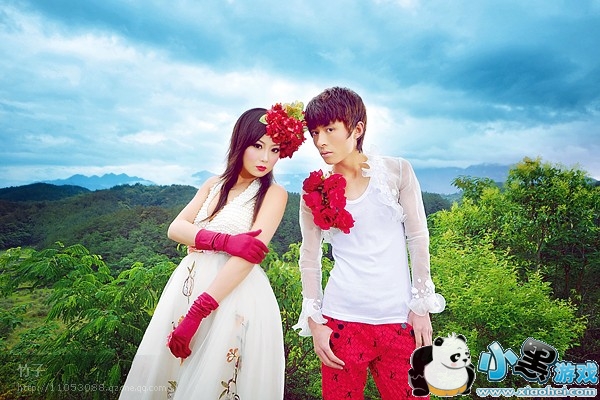
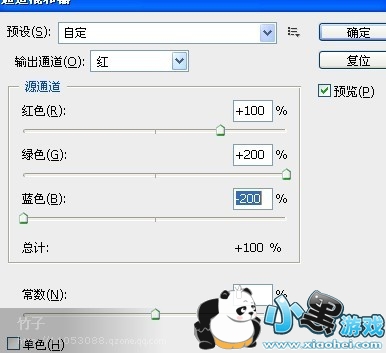
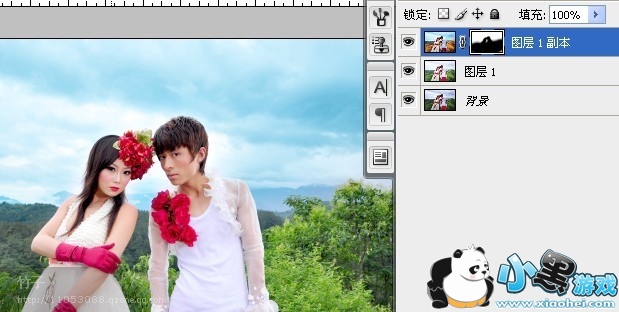
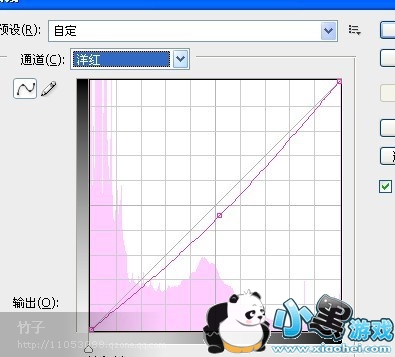
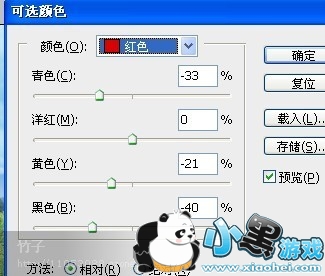
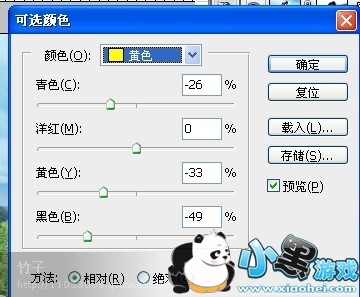
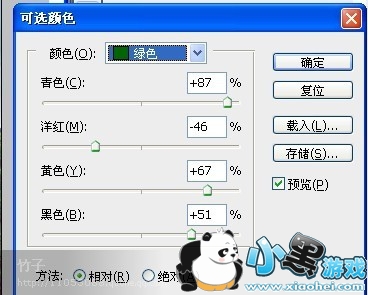
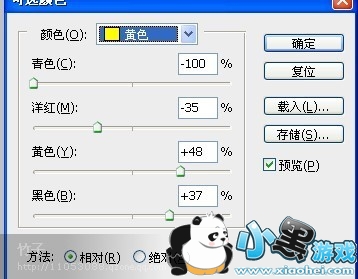
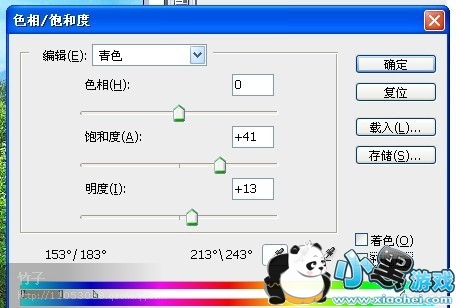
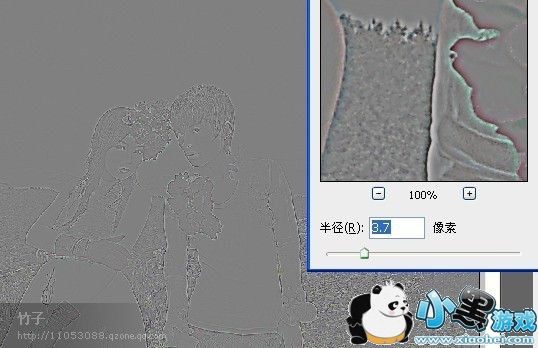
今天小编带大家一起来学习下photoshop调色教程,本教程以外景婚片为例,下面一起来学习下PS给外景婚片调出清新色调效果。
原图: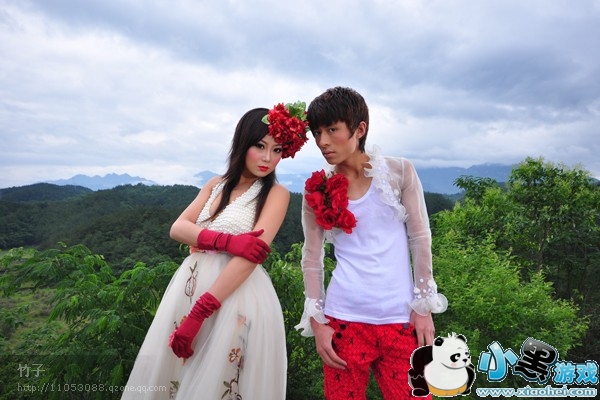
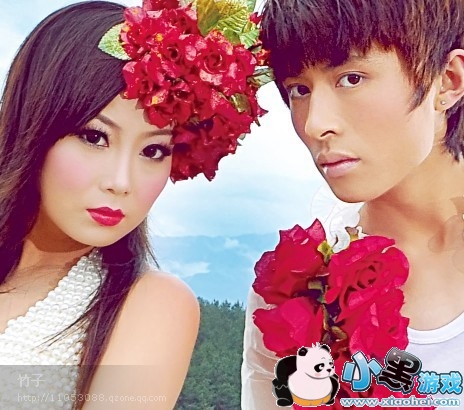

原图:
热门推荐
 AR全防框架软件永久免费版手机端安装17.7 |02-27
 同城约会吧社交软件v16.5.0无广告版157.7 |02-27
 BOSS校长app最新v4.5.7安卓版手机安装45.49 |02-27
 火星瓦瓦数字藏品交易平台最新v1.0.14手机版安装15.8 |02-27
 好奇绘本软件v1.0.0永久免费版安装包11.10 |02-26
 爱玩实时变声器v3.0纯净无广告版安装包56.5 |02-26
 OpenAI最新模型sora手机版v1.0极速安装100 |02-25
 Hay全球交友app手机客户端在线安装116 |02-25
 全能答题手学习软件手机版免费安装43.7 |02-25